
Repotting Techniques for Trailing Succulents: Tips and Hacks
Introduction
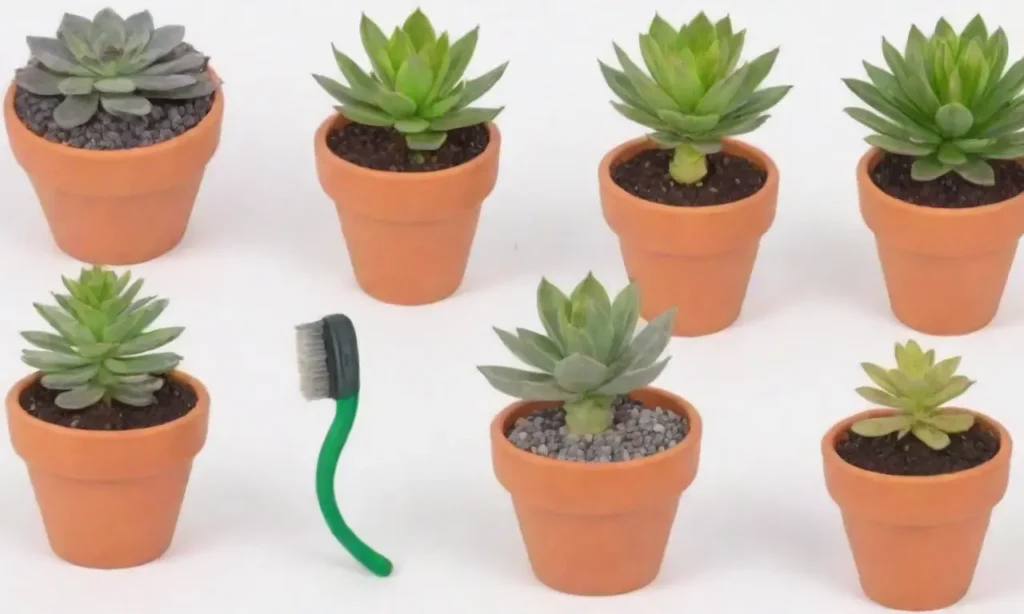
Trailing succulents are cherished additions to many homes and gardens, known for their unique beauty and low-maintenance requirements. These plants, with their plump leaves that store water, can thrive in various environments, providing a lush green vibe or vibrant colors depending on the species. However, like all plants, they occasionally need repotting to ensure their health and longevity. Repotting is not just about transferring the plant from one pot to another; it involves understanding the plant’s needs, timing, and employing suitable techniques to preserve its health.
This article will delve into the best techniques and tips for successfully repotting trailing succulents. We will explore the best practices, highlight common mistakes to avoid, and offer hacks that can make the repotting process smoother for both novice and experienced gardeners. Whether you’re looking to give your succulents more room to grow, refresh their soil, or simply give them a new decorative pot, this comprehensive guide is here to help.
Understanding the Right Time to Repot
Signs Your Trailing Succulents Need Repotting
Before jumping into the repotting process, it’s crucial to determine when it’s time to repot your trailing succulents. One of the most significant signs is when the roots start to outgrow their current container. If you notice roots emerging from the drainage holes or if the plant appears top-heavy, these are clear indicators that it’s time to repot. Furthermore, if the soil retains too much moisture and fails to drain well, it can lead to root rot, thereby compromising your succulent’s health.
Another sign is the presence of yellowing leaves, which may indicate that the plant is either getting too much water or is experiencing nutrient deficiency. In both these scenarios, repotting can provide the opportunity to refresh the soil and allow for better aeration. Lastly, if your trailing succulent has not been repotted for a year or more, it’s wise to consider rehoming it into a new pot with fresh soil, even if the other signs are not apparent.
The Importance of Choosing the Right Season
Timing plays a vital role in the repotting process. The best time to repot trailing succulents is during their growing season, which typically ranges from spring to early summer. During these months, the plants are actively growing, making it easier for them to recover from the stress of repotting. Repotting during dormancy, often in the colder months, can shock the plant and hinder its growth. Consequently, always ensure you have a firm grip on the seasonal patterns of your specific succulent varieties to optimize their health after repotting.
Assessing Environmental Conditions
Aside from timing, the right environment is crucial for a successful repotting experience. Ensure you’re operating in a well-lit area but avoiding direct sunlight, which can scorch the plant after the disturbance. Additionally, temperatures should be relatively stable; avoid drastic changes that can stress the plant. Create a conducive environment where your trailing succulents can settle into their new home with minimal disturbance.
Essential Tools for the Repotting Process
Gathering Necessary Supplies
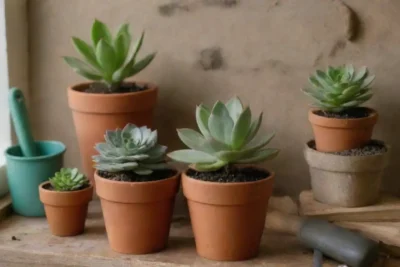
To execute a successful repotting of your trailing succulents, gathering the right supplies is essential. First, you will need a new pot that is at least a couple of inches wider in diameter than the current one. Ensure the pot has drainage holes to prevent water accumulation, which is detrimental to succulents. You can choose materials like ceramic, plastic, or terracotta, depending on your aesthetic preference and the specific needs of your plant.
 Incorporating Decorative Elements While Repotting Succulents
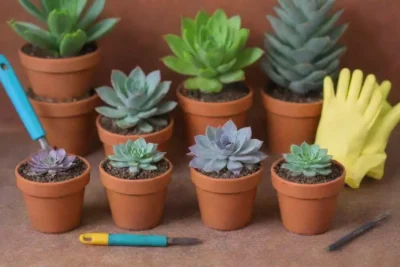
Next, invest in high-quality succulent soil mix that promotes drainage and air circulation. This can often be a combination of potting soil, sand, and perlite. Having sharp shears or scissors can help you trim any damaged roots before repotting. Finally, don’t forget gloves to protect your hands from spines in some succulent varieties, along with a small trowel to assist with moving soil around.
Preparing the New Pot
Once you’ve gathered your supplies, preparing the new pot is the next step. Begin by adding a layer of the succulent mix to the bottom of the new container. A good rule of thumb is to fill it enough to support the length of the stem without burying it too deep. If the plant is particularly large or heavy, adding some larger stones to the bottom can help with drainage and stability.
It’s also wise to give the pot a light tap on a hard surface to compact the soil slightly before placing your succulent. This process will create a firmer base for your plant, preventing it from toppling over after repotting. Make sure the pot is clean, as contaminants can lead to diseases that may affect your beloved trailing succulents.
Understanding Soil Mix Components
Understanding the components of a good soil mix is vital to the longevity of your trailing succulents. The right mix typically contains peat moss, which retains moisture while also allowing proper drainage. Adding coarse sand helps improve aeration, preventing root suffocation. Finally, perlite or pumice adds weight and ensures that the soil remains loose, fostering healthy root growth. The combination of these elements ensures your succulents receive the essential nutrients and moisture they need without risking root rot.
The Repotting Process Step-by-Step
Transplanting Your Succulent Safely
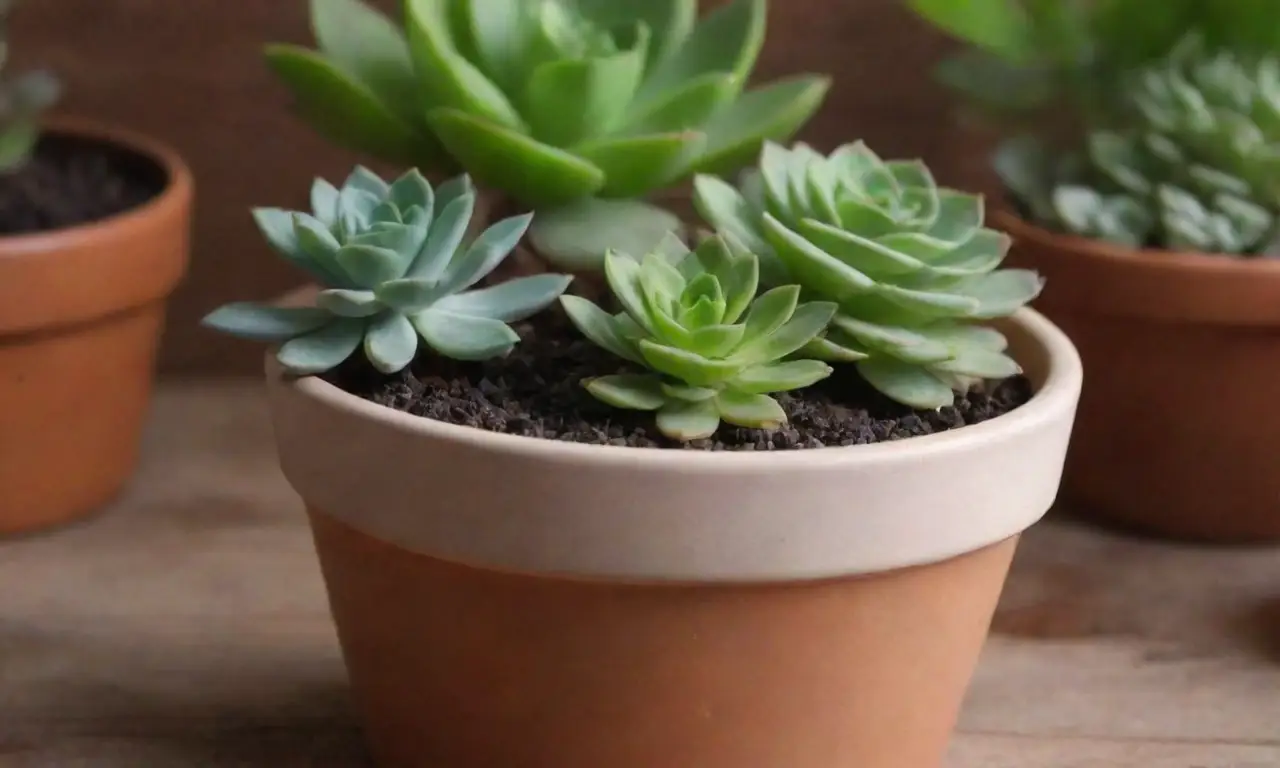
The first step of the actual repotting process involves carefully removing the succulent from its current pot. Gently grasp the base of the plant and wiggle it back and forth while slowly pulling it out to avoid breaking any roots. If the plant is particularly stubborn, using a dull knife to gently loosen the soil around the edges can help. It’s important to handle the plant with care, as these succulents can be delicate, especially with long trailing stems.
Once removed, visually inspect the root system. Trim away any brown or mushy roots with your shears, as these are signs of rot. Healthy roots should appear firm and white. Once you have assessed and trimmed the roots, gently shake off the old soil, making sure not to damage the roots further.
 Repotting Succulents: Safety Measures for Beginners to Follow
Placing the Succulent in the New Pot
After preparing the root system, it’s time to place the succulent into its new pot. Set the plant in the center of the container and fill with fresh soil, ensuring the base of the stem is level with or slightly above the soil’s surface. Firm the soil down gently to support the plant without compacting it too tightly, as this can impede water penetration.
Once positioned, it’s crucial to leave some space at the top of the pot to prevent soil from spilling over when watering. Water gently after repotting to help settle the soil, but avoid soaking it completely to prevent root rot initially following the transplant.
Allowing Time to Recover
After the repotting process is complete, it’s essential to allow your trailing succulent some time to adjust in its new home. Keep the plant in a location with indirect sunlight for a week or two, as it may need to acclimate to its new environment. Avoid watering it immediately after repotting; allow the soil to dry out completely before the next watering. This drying period can protect your succulent from over-saturation and ensure it establishes well in its new soil.
Conclusion
Repotting trailing succulents can be an incredibly fulfilling endeavor, allowing you to give these wonderful plants an opportunity to thrive in their environment. By recognizing the right signs for repotting, preparing the right tools, and utilizing effective techniques, you can ensure your succulents continue to flourish and add beauty to your living spaces.
Remember that every succulent is unique, and the care you provide should be tailored to the specific type you own. Pay close attention to their individual needs, and don’t hesitate to adjust your practices as necessary. Your patience and diligence will pay off when you witness the growth and health of your repotted trailing succulents.
Ultimately, repotting is not just a mean to an end; it is a part of nurturing and cultivating a relationship with your plants. Celebrate this process, keep experimenting, and enjoy the myriad results that come with it. With these tips and techniques at your disposal, you are now equipped to take on the world of trailing succulents confidently!
 How to Handle Thorns and Spines During Repotting Succulents
If you want to read more articles similar to Repotting Techniques for Trailing Succulents: Tips and Hacks, you can visit the Repotting Techniques category.

You Must Read