
How to Photograph Succulents at Home: Step-by-Step Guide
Content
- Introduction
- Understanding Your Subject: The Art of Succulent Photography
- Equipment: Tools of the Trade for Succulent Photography
- Setting the Scene: Choosing the Perfect Location
- Mastering Lighting: The Key to Succulent Photography
- Composing Your Shot: Tips for Captivating Photos
- Post-Processing: Enhancing Your Images
- Conclusion
Introduction
Photography is an art that allows individuals to capture the beauty of the world around them, and one of the most delightful subjects in the realm of photography is succulents. These versatile and colorful plants come in various shapes and sizes, making them a favorite among plant enthusiasts and photographers alike. Capturing the intricate details of succulents can result in striking images that showcase their unique textures and vibrant colors, but doing so effectively requires some knowledge and skill.
In this article, we will explore a comprehensive step-by-step guide on how to photograph succulents at home. We’ll cover everything from choosing the right equipment to understanding lighting, composition, and editing techniques to elevate your succulent photography. Whether you are looking to improve your photography skills for personal enjoyment or social media sharing, this guide will equip you with the tools you need to create beautiful images of your beloved plants.
Understanding Your Subject: The Art of Succulent Photography
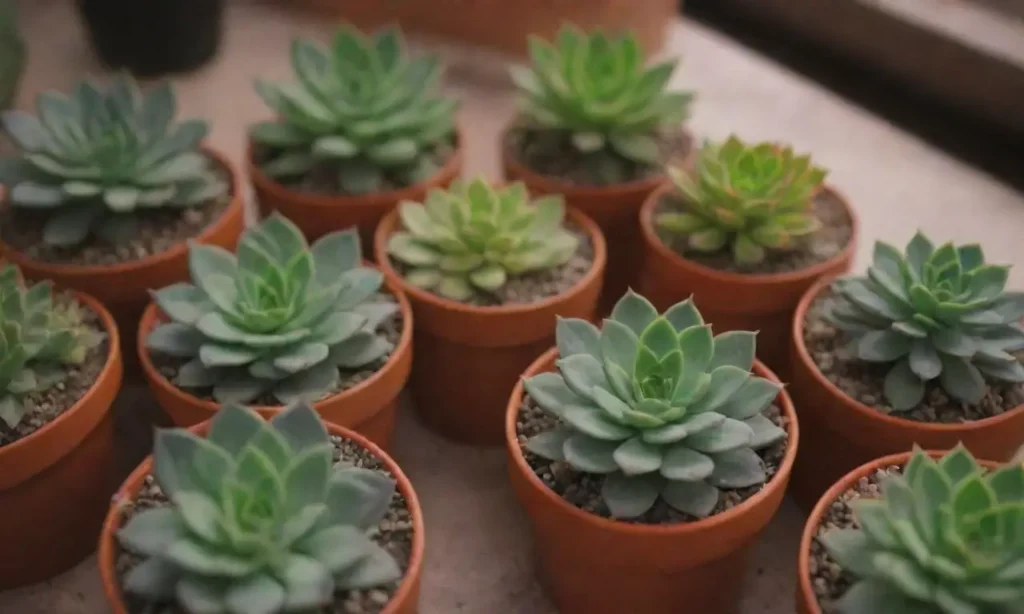
When it comes to photographing succulents, the first step is to understand their unique characteristics. Succulents are known for their fleshy leaves and stems, which store water and help them thrive in arid environments. This unique quality not only makes them visually appealing but also presents specific photographic challenges and opportunities. Their varied colors, shapes, and patterns can create stunning visuals if captured correctly.
The first thing to consider is the diversity of succulents; they come in various species, each with distinct features. Some succulents, like Echeveria, offer rosette shapes that lend themselves to symmetrical compositions, while Haworthia may have striking stripes or textures perfect for close-ups. Understanding your succulent's unique qualities will guide you in deciding how to frame your shot and what types of angles to experiment with.
Moreover, the season and lighting conditions play a significant role in how your succulents will be visually represented in photographs. The change in light throughout the day can enhance or diminish the natural beauty of these plants. Soft morning or late afternoon light is often ideal for capturing their delicate features, whereas harsh sunlight can create unwanted contrasts and shadows. By considering these elements, you’ll be better equipped to create captivating succulent photographs.
Equipment: Tools of the Trade for Succulent Photography
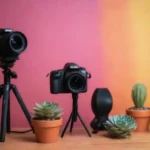
Having the right equipment is essential for creating beautiful photographs of succulents. You don’t need professional gear to get stunning images; even a smartphone can deliver impressive results if used correctly. However, investing in quality camerawork will undoubtedly enhance the outcome of your photos. Here are a few equipment options to consider:
Camera: A DSLR or mirrorless camera offers greater flexibility in terms of manual control over settings like apertures and shutter speeds, which allows for better artistic expression. Many users also find that a lens with macro capability can capture the fine details of succulent textures.
 Lighting Hacks for Perfect Succulent Photography Every Time
Tripod: Stability is critical when photographing plants, especially in low-light conditions. A tripod will help eliminate camera shake and allow for longer exposure times if needed. It’s also beneficial for composition since it keeps your camera steady while adjusting angles and settings.
Lighting: Natural light is often the best option for photographing succulents, but consider adding supplemental lighting, like LED panels or softbox lights, to create the desired mood. Reflectors can also be useful to bounce light onto the plants, highlighting their features more effectively.
Accessories: A macro lens or extension tubes can be excellent tools for those who want to dive deep into the intricate details of succulents. Furthermore, a cotton swab or soft brush can help in cleaning off any dust or particles that may appear on the leaves, ensuring your subject looks pristine.
Choosing the right equipment is about understanding your needs and the specific aesthetic you want to achieve. While having professional cameras and lenses can enhance your creative capabilities, remember that engaging with your subject and the surrounding environment can be just as crucial for capturing those breathtaking shots.
Setting the Scene: Choosing the Perfect Location
Creating the right environment for your succulent photography can significantly impact the overall aesthetics of your images. Location, background, and props can all contribute to the final composition of your photograph, so choose wisely.
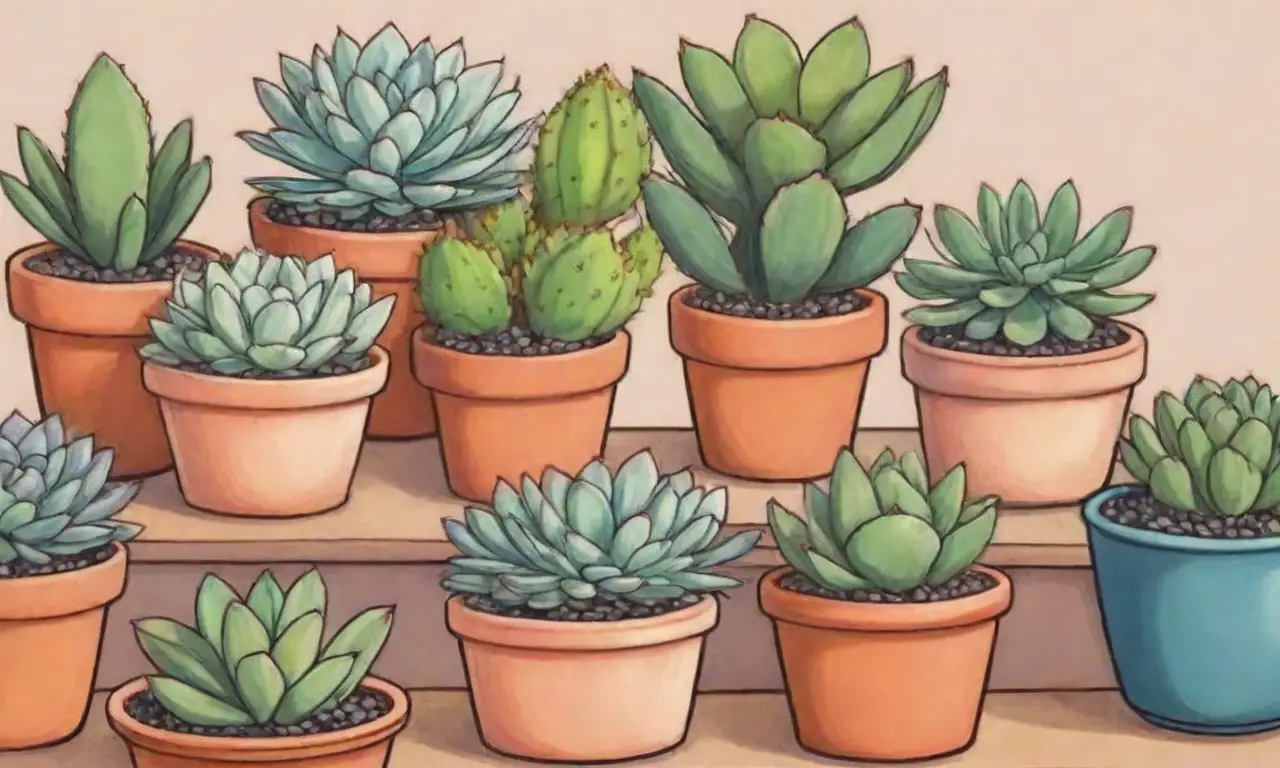
Selecting a clean, uncluttered background will help your succulents stand out. Think about using materials like plain fabric, wood, or even stone for a natural appearance. These textured backgrounds can complement the succulents while preventing distractions. A background that consists of muted, earthy tones rather than bright colors will provide a harmonious backdrop to the vibrant hues of your plants.
 Essential Photography Gear for Stunning Succulent Shots
When considering your location, notice the lighting conditions at various times of the day. A bright, well-lit space is perfect for capturing detailed images of your succulents. If shooting indoors, position your plants near windows where they can benefit from natural sunlight, but avoid direct sun exposure that could cast harsh shadows or wash out colors. If you’re shooting outdoors, find a shaded area to diffuse strong sunlight while still maintaining nice illumination.
Using props can provide context and visual interest without overcrowding your image. Consider incorporating rocks, wood pieces, or even additional plants that complement your succulents. Just be cautious about adding too many elements; the focus should still be on showcasing the beauty of the succulent itself. The goal is to create a cohesive composition that draws the viewer’s eye toward your main subject.
Mastering Lighting: The Key to Succulent Photography
Lighting is arguably one of the most critical aspects of successful succulent photography. The quality of light can dramatically alter the mood and feel of your photos, affecting colors, shadows, and overall clarity. Here are several tips to help you master the art of lighting in your succulent photographs.
Use Natural Light: Whenever possible, leverage natural light. Early morning or late afternoon light is soft and warm, producing flattering results that enhance the beauty of your succulents. Consider moving around your subject to experiment with different angles and how the light hits the plant.
Soft Light Sources: If you're shooting indoors, you can diffuse sunlight with sheer curtains or reflectors. This practice softens the light, reducing harsh shadows while maintaining the vibrancy of your succulent. Alternatively, if you're using artificial light sources, a softbox can replicate natural diffused light effectively, offering a consistent glow throughout your session.
Experiment with Shadows: Don’t shy away from shadows; they can add depth to your photographs. The use of backlighting—placing the light source behind your subject—can create a beautiful glow that accentuates the plant's textures and shapes, bringing a dramatic element to your imagery.
Understanding how to manipulate light sources will help you achieve a sense of depth and highlight the distinctive features of your succulents. The play of light and shadow can transform a mundane photograph into a dynamic and engaging work of art.
 The Role of Contrast in Succulent Photography
Composing Your Shot: Tips for Captivating Photos
Once you have set the scene and established your lighting, the next step is composition—how to frame your succulent to achieve the best results. Composition is crucial in guiding the viewer’s eye and creating a sense of balance within the photograph. Here are a few effective techniques to consider:
Rule of Thirds: A classic photography principle, the Rule of Thirds involves dividing your image into a grid of nine equal sections and positioning your subject along these lines or at their intersections. Placing your succulent to the side rather than in the center can create visual tension and interest, leading viewers through the image.
Leading Lines: Utilize natural lines or shapes within the scene to draw the viewer’s attention to your subject. This can be done through the arrangement of additional plants, using the edge of a pot, or incorporating other elements that create movement toward the succulent.
Negative Space: Embrace the concept of negative space, which refers to the area surrounding your subject. Leaving space around your succulent can create a sense of serenity and focus, drawing attention to its unique characteristics without distractions.
Different Angles and Perspectives: Experiment with various angles, including shooting from above for an overhead view, at eye-level for a more intimate perspective, or from below to create a dramatic perspective. Each angle can present your succulent differently and evoke varying emotions in the viewer.
Your composition should be adaptable; feel free to take multiple shots from different angles and positions. In photography, what may seem like a small shift in perspective can often yield entirely different results. Consider the effects of both foreground and background detail to create a well-rounded depth in your photo.
Post-Processing: Enhancing Your Images
Editing plays a vital role in bringing your succulent photography to the next level. While great photographs start with solid foundations, post-processing allows you to fine-tune your images and enhance their aesthetic appeal. Here are some common practices to consider in your editing workflow:
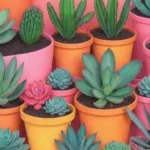 Color Coordination: Making Succulents Pop in Your Photos
Crop and Straighten: Begin by cropping your photo to emphasize your succulent and remove any distracting elements that may have unintentionally crept into the frame. Straightening the image can help maintain balance and joyfully guide the viewer’s eye toward the subject.
Adjust Exposure and Contrast: Sometimes, adjusting the exposure can bring out finer details that may be lost in shadows or highlights. Increasing the contrast can add depth and dimension to your photograph, enhancing the vibrant colors of your succulent.
Color Correction: Ensure that the colors in your image accurately represent what you see in real life; sometimes, post-processing can shift colors away from their true hue. Use color correction tools to enhance the vibrant greens, pinks, and other hues that make your succulent visually striking.
Sharpen and Reduce Noise: Carefully sharpening your image can enhance the textures of the leaves and stems, creating that captivating quality you desire. Additionally, using noise reduction tools will help eliminate unwanted grain or artifacts, resulting in a cleaner image.
Editing is about refining and enhancing your images to align with your creative vision. Many readily available apps and photo-editing software can assist in this process, making it accessible regardless of your experience level.
Conclusion
Photographing succulents at home can be an enjoyable and rewarding experience, allowing you to harness your creativity and explore new techniques. By understanding your subject, choosing the right equipment, setting the scene, mastering lighting, composing your shots, and implementing post-processing techniques, you can capture stunning images of these delightful plants.
Ultimately, photography is about more than just the technical aspects; it is about connection and artistry. Take the time to engage with your succulents and observe their unique characteristics. Learn from each session, embracing the trial-and-error process as a vital part of your growth as a photographer.
 Focusing Techniques to Perfectly Capture Succulent Textures
Whether you want to showcase your cherished plants on social media, create beautiful prints for your home, or simply enjoy the process of capturing the beauty in the everyday, the skills you develop in succulent photography can seamlessly translate to other subjects. So grab your camera, a succulent or two, and start creating! The world of succulent photography awaits you, filled with endless possibilities and creative opportunities.
If you want to read more articles similar to How to Photograph Succulents at Home: Step-by-Step Guide, you can visit the Photography Tips category.

You Must Read