How to Make an Upcycled Succulent Planter from Old Toys
Content
Introduction
In a world increasingly focused on sustainability and creativity, upcycling has gained popularity as an innovative means to repurpose various materials, diverting waste from landfills. One particularly charming and practical upcycling project that stands out is the creation of succulent planters from old toys. Not only do these planters bring a unique touch to your home or garden, but they also tell a delightful story of creativity and resourcefulness. The convergence of gardening and repurposing has given rise to an artistic movement where vintage and broken toys find new life adorned with lush, thriving plants.
This article will guide you through the process of making your very own upcycled succulent planter using old toys. We will look at the materials you need, the step-by-step creation process, care tips for your succulent plants, and ideas to personalize your planter so it perfectly fits your style. Whether you're an experienced DIY enthusiast or a beginner looking for a fun project, you’ll find plenty of inspiration in the following sections.
Gathering Your Materials
Creating an upcycled succulent planter from old toys requires some initial planning, so it's essential to gather all necessary materials beforehand. You'll need several key items that will make your project both efficient and enjoyable.
Old Toys and Figurines
The first item on your list is old toys or figurines. This can include anything from action figures and dolls to toy cars and blocks. Before heading to thrift shops or rummaging through your attic, take time to consider the styles and shapes that would best suit your vision. Here are a few ideas:
- Plastic Figures: These work wonderfully as cute planters. Classic toys like dinosaurs or army men can become fun focal points for your space.
- Toy Cars or Trucks: With a little creativity, old toy cars can become charming makeshift planters. You might even repurpose a truck or van that has a cargo area perfect for a succulent.
- Dolls: If you have old dolls that are no longer in good condition, their heads or torsos can be perfect vessels for lovely greenery.
Make sure to choose toys that resonate with your aesthetic and are in a state where their charm can shine when incorporated into a planter.
Additional Supplies
In addition to the toys, gather other materials such as:
- Potting Soil: A quality cactus mix potting soil is preferable as it allows for better drainage and is specially formulated for succulent growth.
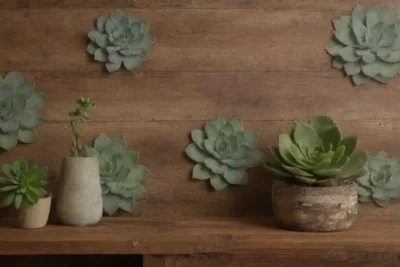
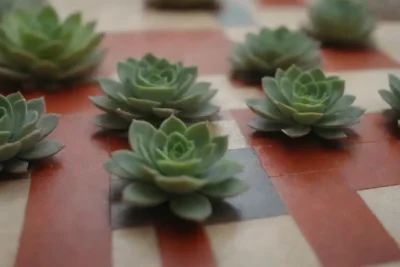
- Succulent Plants: Choose your succulents based on their size and appearance. Smaller varieties like Haworthias and Echeverias work particularly well for toy planters.
- Scissors or a Craft Knife: These will be essential for making modifications to your toys if necessary.
- White Glue or Hot Glue Gun: Use these to attach any decorative elements or secure your succulent if needed.
- Optional Decorating Materials: These can include paint, glitter, or additional miniatures to personalize your planter.
With these materials gathered, you are now ready to dive into the fun process of crafting your upcycled succulent planters!
 Succulent Chalkboard Labels for Organizing Your Plant Collection
Preparing Your Toys for Planting
Once you have your toys selected, it’s time to prepare them for their new role as planters. Depending on the toy, this may involve a few steps to ensure they are plant-ready.
Cleaning the Toys
The first and perhaps most crucial step is to clean your toys thoroughly. Any residue from previous ownership or dirt accumulated over time can be harmful to your plants. Use warm, soapy water and a soft brush to clean the toys, followed by rinsing them under running water. Allow them to dry completely before proceeding to prevent mold growth.
Cutting and Modifying
Depending on the type of toy you’ve chosen, you may need to modify it to hold soil effectively. For example, with toy cars, you might want to cut a small hole in the top or sides to create a planter area. Additionally, if you’re using doll heads or bodies, you might need to create larger openings to facilitate planting.
When cutting, safety is paramount. Use cutting tools with care, and if you're working with children, involve them in the project by letting them choose decorative elements instead. It ensures that the DIY experience remains fun and safe.
Drilling Drainage Holes
Just like traditional pots, drainage is vital in any planter, especially for succulents that are susceptible to root rot. If your toy can hold water without leaking, you should drill holes in the bottom to allow excess water to escape. If you don’t have a drill, a hot glue gun can melt a few small holes in plastic toys. Just remember to test your chosen toy beforehand to ensure it won’t crack or break during the process.
Assembling Your Upcycled Planter

With your materials ready and toys prepped, it’s finally time to assemble your upcycled succulent planter. This is where your creativity will really shine!
 Elegant Succulent Shift Tiles to Decorate Taller Spaces
Filling with Soil
Start by adding a layer of potting soil to your toy. Depending on the size of the body, you’ll want to fill it sufficiently but not too crowded. Leave about an inch or two of space from the top to accommodate your succulent. Ensure you have chosen soil that allows for good drainage and optimal growth.
Planting Succulents
Now for the most exciting part—planting your succulents! Gently take your chosen plants out of their nursery pots, being mindful not to damage the delicate roots. Create a small hole in the potting soil and position your succulent, ensuring the roots are tucked in and the base of the plant is just at or below the soil surface.
Once planted, give the soil a gentle press around the base to keep it stable. If you feel it necessary, you can use glue around the base to firmly secure the plant in place. Lastly, add decorative stones or moss on top of the soil to enhance aesthetics and help retain moisture.
Personalization
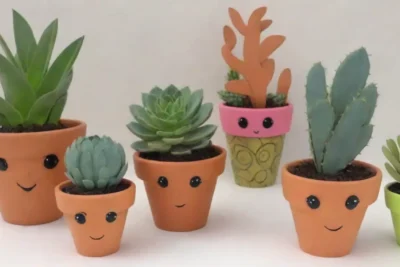
In this stage, personalization is vital to making your planter truly your own. Consider painting your toys with vibrant colors or adding embellishments like stickers or miniature decorations. Fantastical landscapes or fairy scenes created with other small toys can turn your project into a collectible piece of art. Get creative and think outside the box—each planter can be a unique showcase of your imagination!
Caring for Your Succulent Planter
After the assembly, it's important to know how to care for your new succulent planter. While succulents are relatively low-maintenance, there are some best practices to keep them thriving in their playful surroundings.
Watering
One of the primary concerns for succulent care is watering. Due to the drainage holes you drilled, excess water from the soil should have a way to escape. Water your succulents thoroughly, but refrain from frequent watering. During warmer months, every two to three weeks can suffice, while in the winter, it may only need to be once a month. Always monitor soil moisture by touching the top, and if it feels dry—it's time to water again!
Sunlight Requirements
Succulents thrive in bright light, ideally near a sunny window or in outdoor settings with partial sunlight. Ensure your toy planters get enough light to avoid leggy growth or discoloration of the leaves. Rotate them occasionally if they’re indoors—this encourages even growth and prevents them from leaning towards the light source.
 How to Make Succulent Door Hangers for Added Curb Appeal
Periodic Maintenance
Lastly, remember to regularly check on your succulent planters. Dust and debris can accumulate in crevices, so a gentle cleaning with a damp cloth will keep your planter looking fresh. If you notice any dead leaves or drying out sections of your succulents, it’s ok to prune them back. This helps promote healthy growth and maintains the aesthetic appeal of your planter.
Conclusion
Upcycling old toys into whimsical succulent planters is an enjoyable and rewarding project that brings a piece of your creativity to the forefront. Through this project, you not only contribute to a more sustainable environment by reducing waste, but you also craft something visually stunning that brightens your space and serves as a point of conversation. The process of transforming discarded toys into delightful planters is a joyous endeavor, and the personal touch you provide through decoration and choice of plants can turn a simple project into a unique art piece.
As you embark on this new upcycling adventure, remember that there are no strict rules—your imagination is the only limit. Explore different toy types, styles, and materials to find what resonates with you. Share your creations with friends and family, perhaps even inspire others to foster their creativity through such projects. By participating in this fun act of upcycling, you become part of a larger movement that embraces sustainability and innovative thinking, all while creating stunning displays of life and color. So gather those old toys, unleash your creativity, and start planting!
If you want to read more articles similar to How to Make an Upcycled Succulent Planter from Old Toys, you can visit the DIY Projects category.
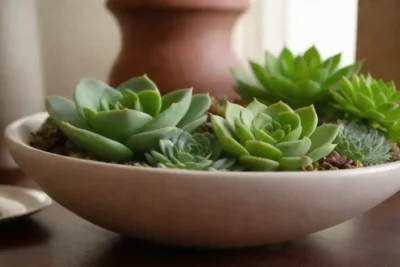
Designing Your Own Succulent Bowls for a Chic Centerpiece
Reclaimed Wood Succulent Planters: A Rustic DIY Project
Designing a Succulent and Cactus Themed Picture Frame
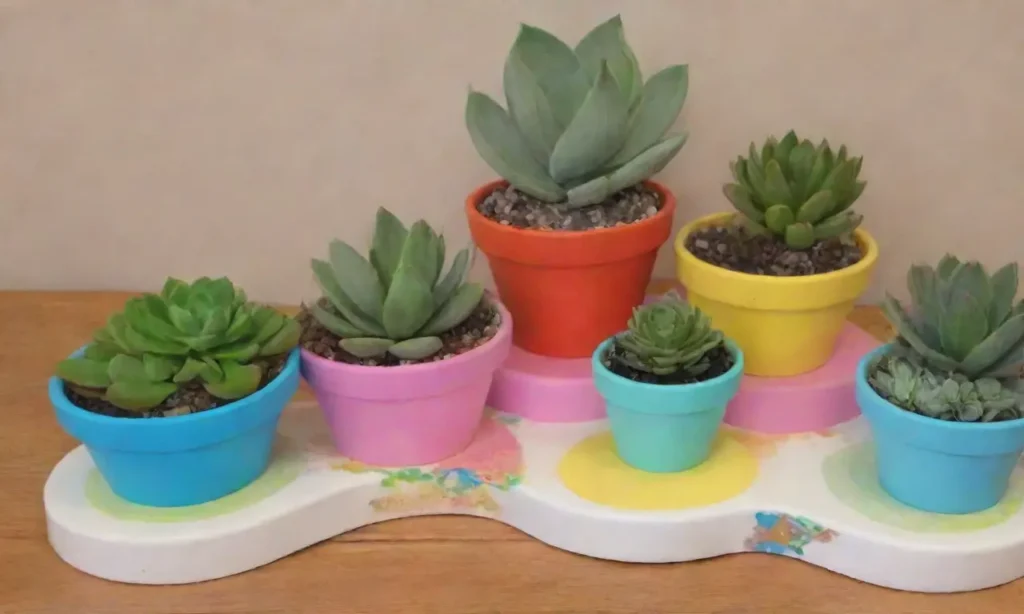
Versatile Succulent Clay Pots: Customizing to Fit Your Style
Unique Succulent Arrangements in Vintage Teacups: A Tutorial
Elegant Succulent Shift Tiles to Decorate Taller Spaces
You Must Read