Color Coordination: Making Succulents Pop in Your Photos
Introduction
In the world of photography, particularly when capturing the intriguing and diverse nature of succulents, color plays a pivotal role. The vibrant hues of succulents can be accentuated through clever color coordination, enhancing the overall visual appeal of your images. Not only does color help convey mood and emotion, but it can also create a striking focal point that draws viewers’ attention, encouraging them to appreciate the intricate textures and vibrant shades that succulents offer.
This article aims to explore the critical aspects of color coordination when photographing succulents. We will delve into essential philosophies of color theory, practical tips for arranging your compositions, and effective techniques you can use to ensure your succulent photos stand out. By the end of this piece, you'll have a deep understanding of how to utilize colors effectively, transforming ordinary plants into extraordinary visual statements.
Understanding Color Theory
To successfully master color coordination, it’s essential to understand color theory. Color theory comprises the set of principles used to create harmonious color combinations and arrangements in art and photography. At its core, color theory is based on the color wheel, a circular diagram where primary colors—red, blue, and yellow—combine to create secondary colors and further tertiary colors.
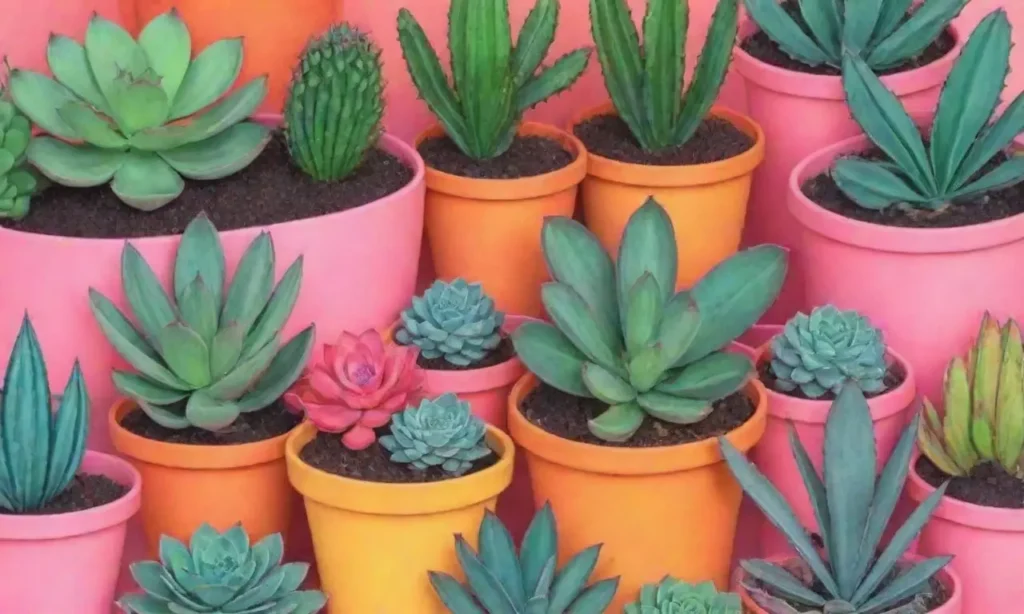
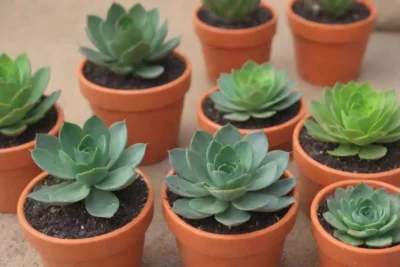
One of the primary principles of color theory is complementary colors. Complementary colors are those that sit directly opposite each other on the color wheel—such as blue and orange or yellow and purple. When placed together, these colors enhance each other's vibrancy, making for striking photographs. For instance, if you have a blue echeveria succulent, placing it against an orange terracotta pot could serve to brighten both elements, creating a captivating contrast that pops out in photos.
Another essential concept within color theory is analogous colors. These are colors situated next to each other on the color wheel, like blue, blue-green, and green. Using analogous colors can create a more harmonious and soothing feel in photographs. This approach works beautifully when photographing succulents, as many of them have varying shades of similar colors, such as blue-greens and soft teals. By arranging them pleasingly within these colors, the resultant image will exude a serene and cohesive atmosphere.
Moreover, understanding temperature in color is crucial—colors can be classified as warm or cool. Warm colors include reds, oranges, and yellows, while cool colors comprise blues and greens. Creating a balance between warm and cool tones can help achieve a visually appealing photograph. For instance, combining warm earth tones with cool succulent colors can create a striking dichotomy that may intrigue viewers, ensuring that the succulents remain the stars of the photograph.
Arranging Your Composition
Once you've grasped the principles of color theory, the next step is to work on effectively arranging your composition to highlight the succulents. A well-thought-out composition can make your photos dynamic and eye-catching, guiding the viewer’s eye through the scene.
 Focusing Techniques to Perfectly Capture Succulent Textures
The rule of thirds is a fundamental guideline that can greatly enhance your compositions. By dividing your frame into a grid of nine equal parts, you can place the most vital elements—such as your succulent—along the lines or at their intersections. This technique not only creates balance but also makes your images more aesthetically pleasing. For example, if you're photographing a vibrant jade plant, positioning it either left or right of the center can create a more compelling image than a centered shot, allowing other elements in your photo to complement rather than distract from the succulent itself.
Additionally, foreground and background elements play a crucial role in setting up the scene. Using contrasting colors in your background can help the succulent pop. If you have a red-hued succulent, consider using a green background to achieve a strong contrast. Likewise, textures can also play a crucial part. Soft textures in a background, like a blurred garden scene, can accentuate the stiff and geometric shapes common to succulents, creating an engaging depth in your photos.
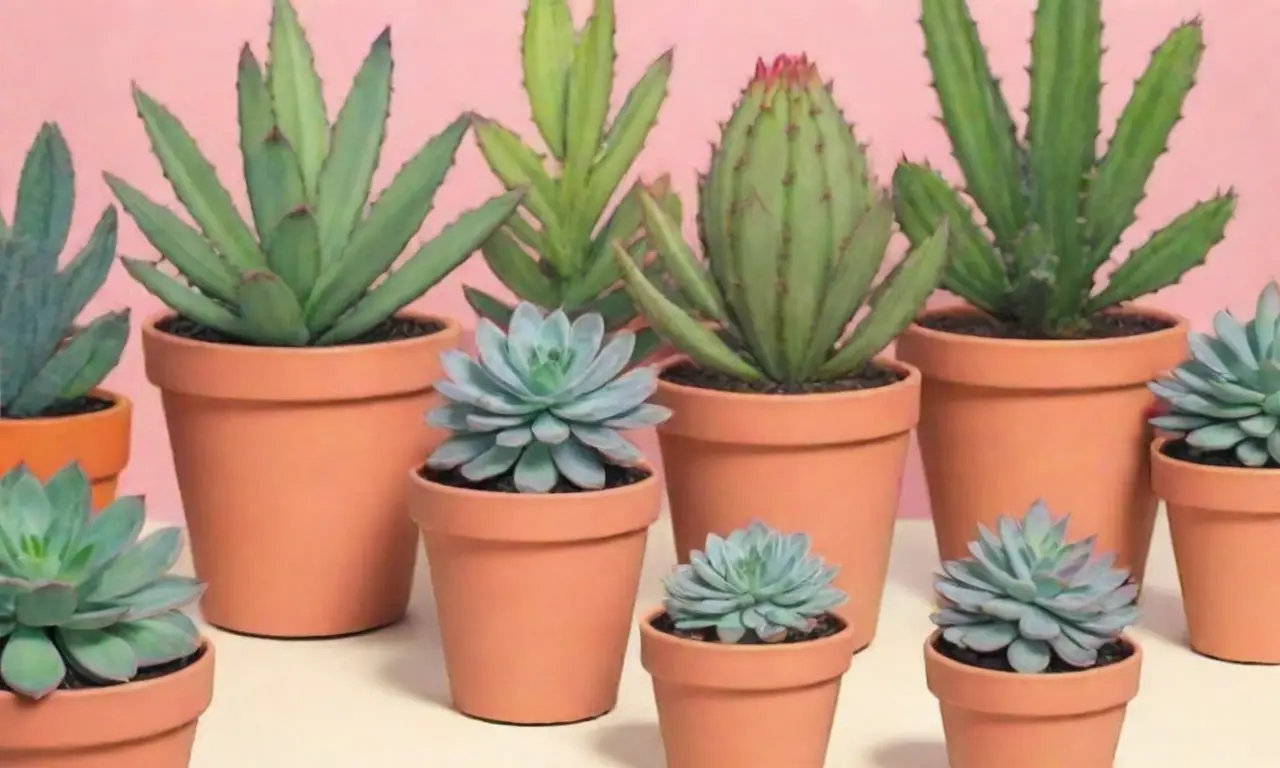
Another aspect worth mentioning is the use of props. Props can introduce complementary or contrasting colors, adding context and intrigue to your succulent photographs. Terracotta pots, colored pebbles, or timber surfaces can serve as attractive bases while adding warmth to the image. Experiment with varying compositions—such as placing your succulent on a bold colored cloth or arranging objects around the plant—to create unique visuals that will captivate your audience.
Lighting and Color Coordination
Lighting is another essential component in color coordination that can transform your succulent photographs remarkably. The right lighting not only enhances the plant's colors but can also create shadows, giving depth and dimension to your images.
Natural light is often the photographer's best friend when shooting succulents. The soft, diffused light during the golden hour—which occurs shortly after sunrise and before sunset—provides warm tones that can enhance the natural colors of your plants. Such lighting not only makes colors appear more vibrant but also casts gentle shadows, adding depth to the photo. For instance, showcasing a purple sedum in this lighting can reveal its stunning color gradations and subtle textures.
If you're shooting indoors or on cloudy days, consider using reflectors to bounce light onto your succulent. Positioning a white reflector to face your succulent can illuminate it, bringing out its color saturation while reducing undesirable shadows. In contrast, a black reflector can absorb light and create dramatic effects by enhancing shadows, leading to a more artistic result.
 Using Smartphone Cameras for Beautiful Succulent Photography
Lastly, consider experimenting with shooting angles. The direction from which you shoot can vastly affect how colors are perceived. Shooting from below highlights the sky as a backdrop, creating a soft blue that enhances the green tones of the succulent. Alternatively, shooting downwards can flatten layers, allowing you to capture the intricate patterns and colors of tightly clustered succulents.
Post-Processing Techniques
Finally, once you've captured your photo, taking the time to edit your images can enhance color coordination further. Tools such as Adobe Lightroom and Photoshop offer a wealth of options that allow for precise adjustments to color balance, brightness, and contrast, all of which can refines the visual impact of your succulents.
One primary adjustment to consider is enhancing the saturation of specific colors while preserving the natural hues. For example, by slightly increasing the saturation of the greens and purples in your image, you can make your succulents pop against a more subdued backdrop. However, it's essential to use this tool sparingly; overly saturated colors can lead to images that appear unnatural and unappealing.
Another useful adjustment is to modify the contrast levels. Increasing contrast can make colors look more vibrant and sharp, giving your succulents an intense, lively appearance. You can also adjust the highlights and shadows to ensure that details are not lost, which can help add a dynamic range to your photo.
Finally, consider the vibrancy feature, which allows for a more nuanced saturation adjustment. Unlike general saturation, vibrancy enhances the less saturated colors in your photographs preferentially, lending a more natural look while still allowing particularly vibrant colors, such as those of succulents, to shine through.
Conclusion
In conclusion, the art of color coordination is essential for transforming your succulent photographs from mundane to magnificent. By grasping the foundational concepts of color theory, arranging your composition with thoughtful intent, utilizing effective lighting techniques, and making subtle enhancements during post-processing, you have the power to create visually stunning images that celebrate these remarkable plants.
Remember that practice is key. The more you experiment with different colors, compositions, and techniques, the more adept you will become at capturing the essence of succulents. Each photograph can tell a story, and through color, that story can resonate with viewers in meaningful ways. So, take your time, play with colors, and relish the creative journey as you develop your photography skills.
 Common Mistakes in Succulent Photography and How to Avoid Them
As you embark on your color coordination journey, keep in mind that the best photographs often come from genuine engagement with your subject. After all, succulents are more than just plants—they are living pieces of art, and with your lens, you have the opportunity to showcase their beauty in ways that will captivate and inspire others. Happy shooting!
If you want to read more articles similar to Color Coordination: Making Succulents Pop in Your Photos, you can visit the Photography Tips category.



You Must Read