Lighting Hacks for Perfect Succulent Photography Every Time

Introduction
In the realm of plant photography, succulents stand out as some of the most visually captivating subjects. Their unique shapes, vibrant colors, and intricate details make them a favorite among photographers and plant enthusiasts alike. However, capturing their beauty in a photograph can be a challenge without the right lighting techniques. Effective lighting not only highlights the textures and colors of succulents but can also elevate a simple snapshot into a professionally crafted image.
This article aims to delve into the various lighting hacks that will help you perfect your succulent photography. Whether you are using a smartphone or a DSLR camera, understanding the nuances of lighting can drastically improve your photos. We will cover everything from natural lighting tricks to the use of artificial lighting, alongside practical tips to enhance your composition and creativity.
Understanding the Basics of Light
Understanding the fundamentals of light is crucial for any photographer. Light can drastically change the mood, tone, and quality of your photographs. The way light interacts with your subject can either enhance or detract from its features.
Types of Light
The two primary types of lighting in photography are natural light and artificial light. Natural light refers to sunlight and is typically considered the best for photography, especially for subjects like succulents. It provides a soft, diffused glow that accentuates the intricate details of your plants. Morning and late afternoon light, often referred to as the “golden hours,” are especially desirable times for capturing vibrant photographs since the light is warm and soft.
On the other hand, artificial lighting includes flash, studio lights, and LED panels. While artificial light can be controlled and manipulated to suit your needs, it often requires more technical knowledge and equipment. This lighting can be harsh and unforgiving if not used properly, potentially creating undesirable shadows and stark contrasts. Understanding the characteristics of both types of light will help you make informed decisions about how to illuminate your succulent photos.
Quality of Light
Apart from the source of light, the quality of light also plays a crucial role in succulent photography. Bright, direct sunlight can overpower your subject and lead to blown-out highlights, where details are lost in overly bright areas. Alternatively, too little light can result in dark, underexposed images. The goal is to find a balance that highlights the best features of your succulent. The quality of light can be described as soft or hard. Soft light is diffused and creates gentle shadows, while hard light is direct and results in sharp contrasts. Diffusing natural sunlight or using reflectors can help you achieve that soft light effect, making it a vital technique for succulent photography.
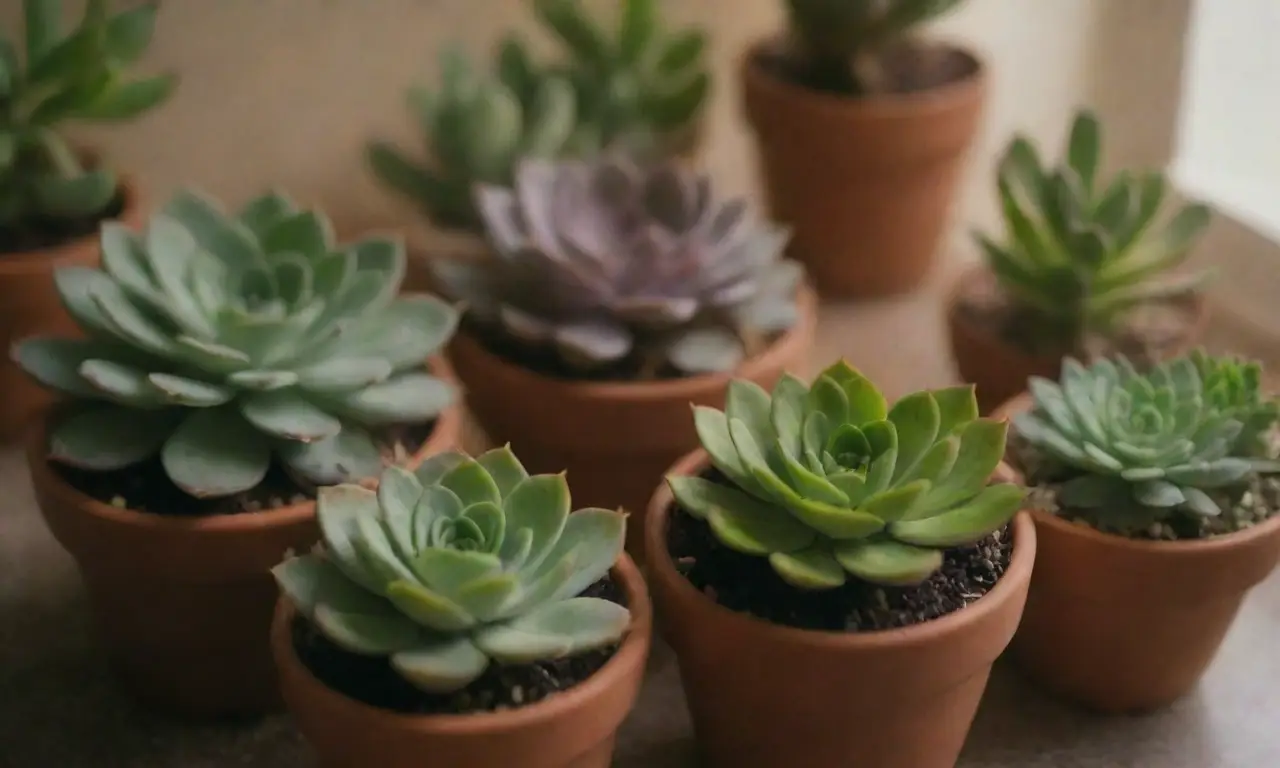
Utilizing Natural Lighting Effectively
Natural light is one of the most valuable tools in succulent photography. Knowing how to use it effectively can yield stunning results.
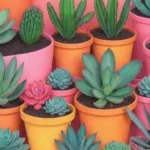 Color Coordination: Making Succulents Pop in Your Photos
Choosing the Right Time
As previously mentioned, the time of day significantly impacts the quality of light. Photographers often describe the hours around sunrise and sunset as the "magic hour." During these times, the sun is low in the sky, producing warm, soft light that can create enchanting, shadow-filled images. Furthermore, this light is less harsh, which is beneficial for minimizing high contrast and harsh shadows in your photographs. On overcast days, the clouds act as a natural diffuser, softening the sunlight and creating an even, consistent light source.
Positioning Your Succulent
The placement of your succulent in relation to the light source is equally important. Experimenting with different angles can produce varied outcomes. Placing your succulent in front of the light source not only helps to backlight it but also creates an ethereal glow that illuminates its edges, giving a sense of depth and dimension. Conversely, positioning your succulent to the side of the light source can reveal its texture and form more effectively, as shadows play a vital role in adding contrast and perspective.
Using Shades and Diffusers
To ensure that your succulent photography is as vibrant as possible, consider using shades or diffusers. These tools can be as simple as a white sheet or a specialized photography diffuser. A diffuser can soften harsh sunlight and eliminate unwanted shadows, providing you with a more even light distribution. If there’s an abundance of direct sunlight, positioning your succulent under a shaded area, such as a tree or overhang, can also help reduce glare while still providing adequate light for your shots.
Mastering Artificial Lighting Techniques
While natural lighting is generally preferred, there might be occasions where you need to rely on artificial lighting. This is especially true if you’re shooting indoors or during less-than-ideal weather conditions.
Choosing the Right Equipment
For effective artificial lighting, you don’t always need professional-grade equipment. Simple LED lights, softboxes, or even basic photography flash can be utilized effectively. The key is to ensure that your setup mimics the qualities of natural light. An LED panel can provide adjustable brightness levels and color temperatures, allowing you to mimic various lighting conditions as needed.
Employing Light Modifiers
Using light modifiers can significantly enhance your indoor succulent photography. Light modifiers include reflectors, softboxes, and umbrellas, all of which can help diffuse and soften harsh light. A simple white reflector can bounce light back onto the plant, filling in shadows and adding a highlight that emphasizes the curves and textures of your succulent. Softboxes can diffuse the light source and create a soft, even illumination that is ideal for capturing fine details without harsh shadows.
 Using Smartphone Cameras for Beautiful Succulent Photography
Managing Shadows and Highlights
When utilizing artificial light sources, it's crucial to manage shadows and highlights carefully. Positioning the light at different angles will dramatically alter the effectiveness of your photographs. Conducting trial shots from multiple angles will help you determine the most flattering light position. Shadows can sometimes enhance the texture and depth of your succulents; however, if they are too harsh, they can detract from the overall appeal. Finding that sweet spot where shadows enhance without overwhelming is the hallmark of a skilled succulent photographer.
Enhancing Your Composition
Lighting is only one aspect of succulent photography—composition plays an equally vital role.
Rule of Thirds
Utilizing the rule of thirds can help you create visually balanced and captivating compositions. This rule involves dividing your frame into a grid of nine equal parts and placing the focus of your plants along the lines or at their intersections. By doing this, you can create more dynamic and engaging photographs, drawing the viewer’s eye to points of interest.
Depth of Field
Utilizing depth of field can help you isolate your succulent and create dreamy, blurred backgrounds that emphasize the details of your plant. A wider aperture (smaller f-number) will create a shallower depth of field, allowing you to focus on your succulent while blurring out distracting backgrounds. However, be aware of the effects of light when operating with a wider aperture, as it may require careful light management to ensure that your subject remains well-lit.
Adding Props and Backgrounds
Sometimes the right background or props can make all the difference. Opt for backgrounds that complement rather than compete with your succulent. Neutral-colored backdrops tend to work best, allowing the vibrant colors of your plant to take center stage. Consider using natural elements such as soil, stones, or wood as props to add layers to your composition. These elements can enhance the rustic feel of your photographs, creating a harmonious visual narrative.
Conclusion
In summary, mastering the art of succulent photography encompasses a multitude of techniques, but lighting is where it all begins. Understanding different types of light, how to utilize them effectively, and how they impact the appearance of your succulents can be revolutionary for the quality of your photography. With natural light, aim for the early mornings and evenings for that warm, diffused glow. When you must use artificial light, invest in affordable tools like LED panels and reflectors that can mimic natural sunlight.
Further enhancing your compositions by employing techniques like the rule of thirds, depth of field, and thoughtful backgrounds can elevate your succulent images from ordinary to extraordinary. Every photographer, whether hobbyist or professional, needs to experiment, practice, and refine their craft continually. With the combination of effective lighting hacks and creative composition strategies, you’ll be well on your way to capturing stunning succulent photographs.
 Common Mistakes in Succulent Photography and How to Avoid Them
Don't forget that every plant can tell a story; it's your job as a photographer to make those stories come alive through the power of light. Whether you are sharing your succulents online or curating an art display, the right lighting will ensure that your work captures the hearts of many. So grab your camera, experiment with these lighting techniques, and let the beauty of your succulents shine through in every photograph!
If you want to read more articles similar to Lighting Hacks for Perfect Succulent Photography Every Time, you can visit the Photography Tips category.