Designing a Succulent and Cactus Themed Picture Frame
Content
Introduction
The charm of succulents and cacti has captivated many homeowners and decor enthusiasts alike, serving as symbols of resilience and beauty. Their unique textures and vibrant colors add an aesthetic appeal that can transform any ambiance. Incorporating this trend into your home decor by designing a succulent and cactus themed picture frame is an innovative way to showcase cherished memories while celebrating this botanical theme. In this article, we will guide you through the steps to create a captivating picture frame that embodies the essence of these hardy plants.
Whether you are looking to add a touch of greenery to your living space or seeking a fun DIY project, this article will provide you with comprehensive insights. We'll cover everything from selecting materials and the necessary tools to crafting your frame with expert tips for an eye-catching finish.
Choosing the Right Materials
When considering the design of your succulent and cactus themed picture frame, the materials you select play a crucial role in achieving the desired outcome. The frame's base can be constructed from various materials, including wood, MDF (Medium-Density Fiberboard), or even upcycled materials like old picture frames. Each option has its unique appeal, and your choice will depend on your personal aesthetic preferences and budget.
Wood as the Preferred Choice
Wood is often the chosen material for picture frames due to its strength and versatility. It can be easily painted, stained, or adorned with decorative elements that resonate with your succulent and cactus theme. Choosing a light-colored wood such as pine or birch can give a fresh and clean look, which serves as an ideal backdrop for the green hues of succulents. Additionally, you can leave the wood unfinished for a more rustic charm, allowing the natural grain to shine through.
Upcycling Old Frames
If you prefer a more sustainable approach, consider upcycling an old picture frame. This not only helps reduce waste but also allows you to create a one-of-a-kind piece. Look for frames with intricate designs or unique shapes that can be easily transformed. A fresh coat of acrylic paint or spray paint can give the frame a new lease on life. Once painted, you can embellish it with small succulent or cactus decorations to complement the overall theme.
Selecting Decorative Elements
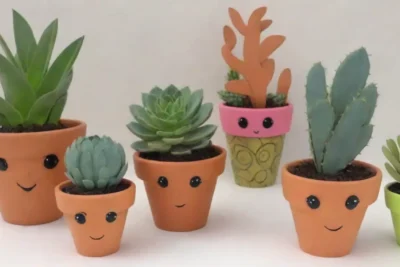
Decorative elements are key to achieving a succulent and cactus-inspired look. Craft stores sell a plethora of materials such as faux plants, textured fabrics, and foam that can be utilized to capture the essence of your theme. Tiny artificial succulents can be glued onto the frame, while sand and pebbles can be used to create a micro-garden look. Consider incorporating stencils or decals featuring succulent patterns that can easily adhere to the frame for added charm.
Design and Assembly Process
Once you have your materials ready, the next step is to dive into the design and assembly of your picture frame. This process will require some creativity, patience, and adherence to a few essential steps to ensure a polished result.
 Reclaimed Wood Succulent Planters: A Rustic DIY Project
Measuring and Cutting
Begin by measuring the dimensions of the picture you wish to display. This will guide you in cutting your frame to the appropriate size. If you are using wood or MDF, you will need a jigsaw or circular saw for precise cuts. If traditional frames will be used, make sure the inner dimensions correspond with the chosen photograph. Take your time in this step, as accurate measurements will ultimately lead to a more professional-looking frame.
Painting and Sealing
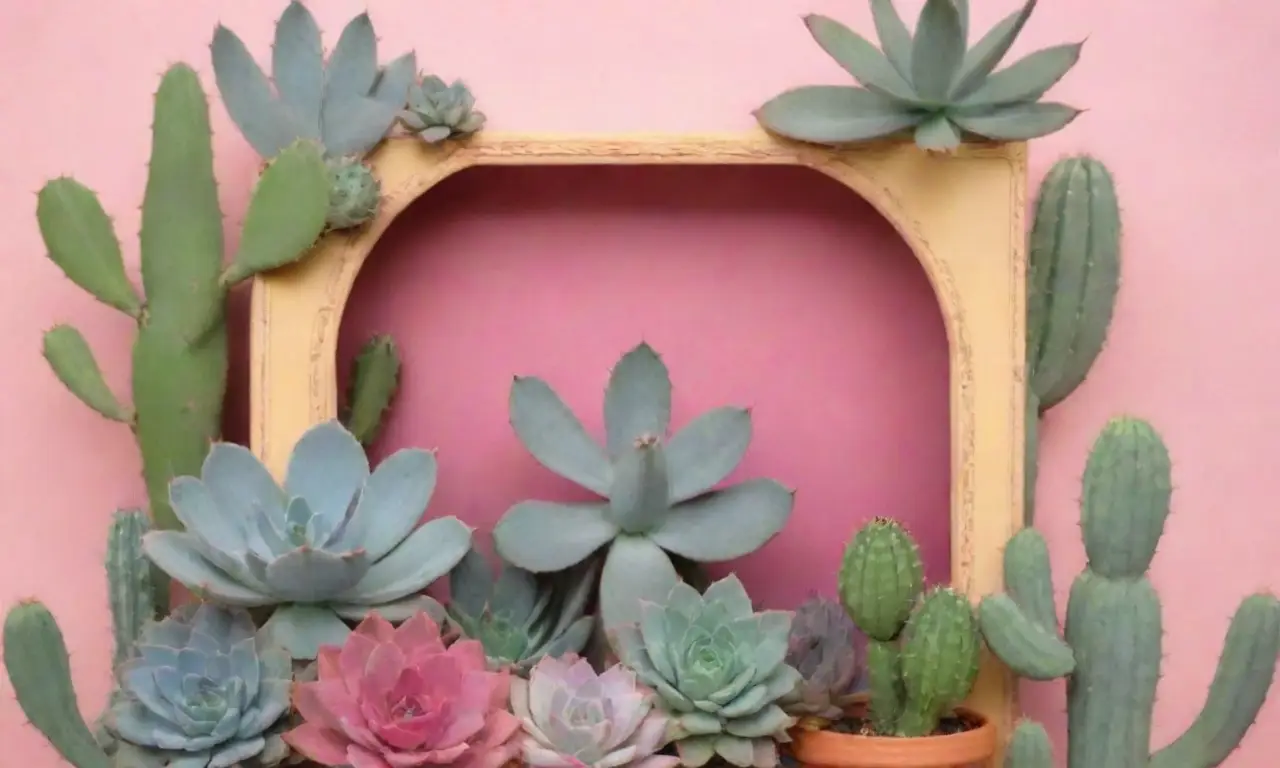
After cutting your frame, it’s time to add color. Using acrylic paint, you can create layers of colors that may remind one of a succulent garden. Consider pastel shades like soft greens, blues, and pinks, or even opt for bold colors if that aligns with your decor style. Don't forget to seal the paint with a layer of clear coat spray or mod podge to protect it from damage.
Gluing and Decorating
With the base of your frame ready, proceed to adhere decorative elements. Arrange faux succulents and cacti along the edges or corners of the frame. You may want to use hot glue for secure adhesion. To create dimension, consider varying the heights of the faux plants. For an extra flair, sprinkle sand around the frame to mimic a desert landscape and add small rocks for realism.
Final Touches and Customization
Once your frame is assembled and decorated, it's time to add the final touches that will make the piece uniquely yours. This stage allows for personalization, ensuring that your picture frame stands out as a centerpiece in your home.
Personalizing with Special Messages
Consider incorporating a personalized message or quote into the frame's design. This could be a simple phrase that resonates with your love for nature or uplifting words that inspire happiness. Using letter stickers or a paint marker, you can write directly onto the frame itself. Remember to choose fonts and sizes that complement the overall aesthetic of your design.
Adding a Backing and Hanger
For a finished look, ensure that your frame has a sturdy backing. If you haven’t already, cut a piece of cardboard or heavy paper to fit the back and secure it in place using glue or small nails. Additionally, don’t forget to add a hanger at the back for easy wall mounting. You can use picture hanging strips for easy removal or a traditional D-ring for a more permanent fixture.
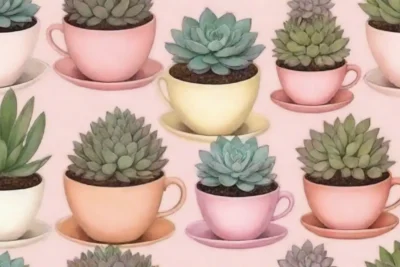
 Unique Succulent Arrangements in Vintage Teacups: A Tutorial
Displaying Your Masterpiece
With everything in place, it’s time to showcase your beautifully crafted succulent and cactus themed picture frame. Choose an area in your home that needs a dash of charm, such as a living room, hallway, or workspace. Complement your frame with additional succulents or other green accents in the vicinity to create a cohesive look.
Conclusion
Designing a succulent and cactus themed picture frame is not only an entertaining and rewarding DIY endeavor, but it's also a meaningful way to incorporate your personality and interests into your home decor. The entire process, from selecting materials to personalized details, allows for a creative outlet that fosters self-expression.
This project not only celebrates the remarkable beauty of succulents and cacti, but it also serves as a reminder of the memories captured within your frame. With each glance, you will be reminded of the love and artistry invested in your home.
Incorporating such personalized decor into your space can also encourage a deeper appreciation for nature’s resilience and beauty. As you embark on this creative journey, remember to have fun, experiment with your designs, and let your imagination flourish. With commitment and care, you’ll create a stunning centerpiece that reflects your unique style and love for all things botanical.
If you want to read more articles similar to Designing a Succulent and Cactus Themed Picture Frame, you can visit the DIY Projects category.
Versatile Succulent Clay Pots: Customizing to Fit Your Style
Unique Succulent Arrangements in Vintage Teacups: A Tutorial
Elegant Succulent Shift Tiles to Decorate Taller Spaces

Succulent Chalkboard Labels for Organizing Your Plant Collection
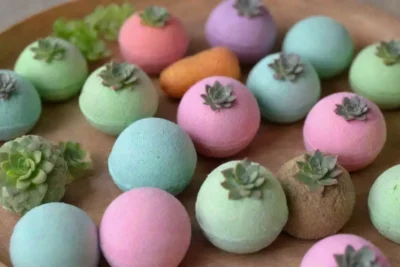
DIY Succulent Bath Bombs: Pampering with a Touch of Green
You Must Read