
Container Gardening: Repotting Succulents in a Small Space
Content
Introduction
Container gardening has become an increasingly popular method for cultivating plants, especially in urban settings where space is at a premium. Among the most appealing options for container gardening are succulents, known for their aesthetic appeal, drought resilience, and the minimal care they require. These hardy plants are perfect for small spaces, making them an excellent choice for those who want to bring a touch of nature into their homes or balconies without committing to extensive gardening paths.
This article is crafted to provide a comprehensive guide on repotting succulents in a small space. We will cover everything from selecting the right containers and soil to step-by-step instructions on how to repot these delightful plants. Whether you're a novice gardener or an experienced plant parent, you'll find valuable insights to help you successfully manage your succulent collection.
Understanding Succulents and Their Needs
Succulents are unique plants that have evolved to store water in their leaves, stems, or roots, allowing them to survive in arid and semi-arid environments. Their adaptability makes them ideal for various conditions, but it also necessitates specific care considerations, particularly when it comes to container gardening. Understanding what these plants need can make the process of repotting smoother and more successful.
Succulents thrive in well-draining soil that prevents excess moisture from accumulating, which can lead to root rot. A good mix often includes potting soil blended with materials such as perlite, sand, or pumice to enhance drainage. While most succulents prefer bright, indirect light, it is essential to monitor their conditions closely, as too much direct sunlight can scorch their leaves. Knowing your plant’s specific sunlight needs will help ensure healthy growth.
When repotting succulents, it’s crucial to work within the plant’s growth cycle. Ideally, this should be done during late winter to early spring when many succulents are entering their active growth phase. Repotting during dormancy can cause stress to the plant and hinder growth, so choose the right time!
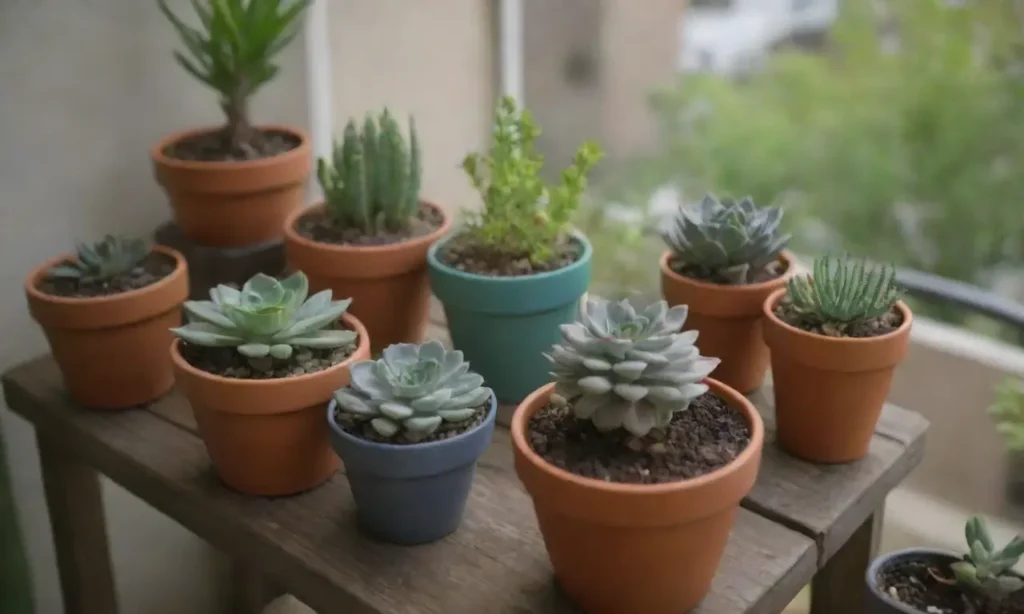
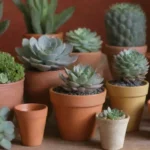
Choosing the Right Containers
Container Material and Size
When selecting pots for your succulents, both material and size play vital roles in their health and growth. Terracotta pots are a popular choice among succulent enthusiasts due to their porous nature, allowing for better air exchange and moisture control. However, if you live in a humid environment, plastic or ceramic pots with drainage holes might be more suitable as they retain moisture better.
Choosing the right size pot is equally important. A container that is too large can lead to excess soil, trapping water and potentially causing root rot. Aim for new pots that are only slightly larger than the current ones, ensuring there’s enough room for the roots to spread while avoiding an overwhelming amount of soil. Typically, a pot that provides an additional 1-2 inches of space in diameter is ideal.
 Repotting Succulents: Timing and Frequency for Healthy Growth
Drainage Options
Proper drainage is fundamental to the health of succulents, and ensuring your chosen container has drainage holes is non-negotiable. If you find a beautiful pot without drainage holes, you can use it as a decorative outer pot and place a smaller, drainable pot inside. This way, you can enjoy the aesthetics while providing your plant the right environment. Additionally, consider placing rocks or gravel at the bottom of the pot to facilitate drainage even further.
Preparing for Repotting
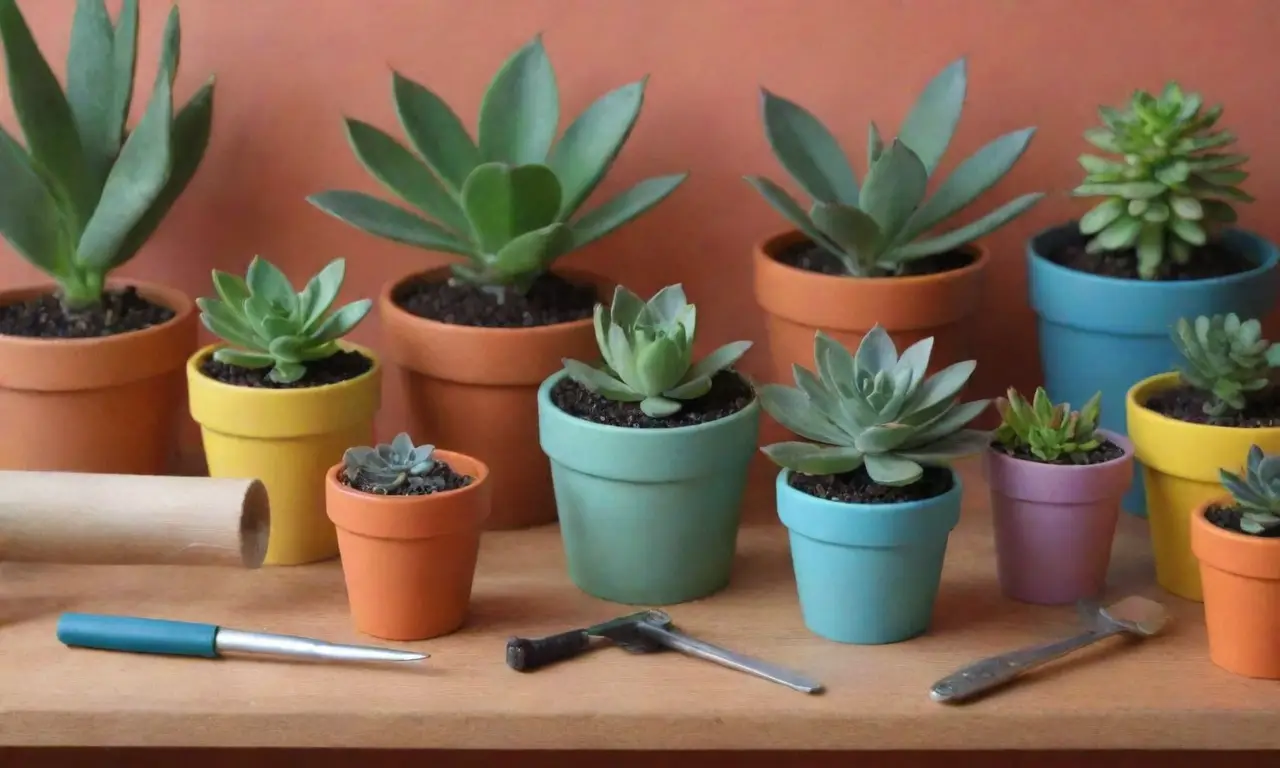
Gathering Tools and Materials
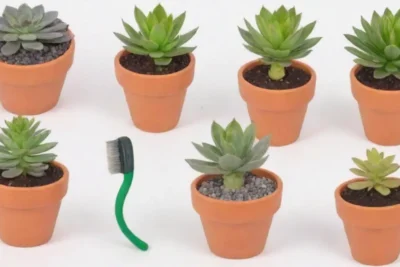
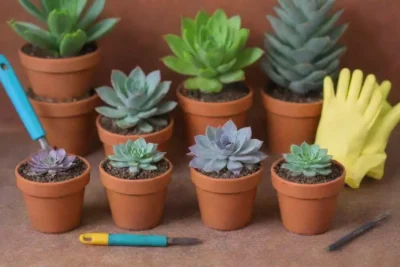
Before diving into repotting your succulents, preparing the necessary tools and materials is important to streamline the process. You will need cactus soil or a custom soil mix, a suitable pot with drainage holes, clean scissors or pruning shears, and gloves to protect your hands. Moreover, make sure to have water nearby in case you need to hydrate the soil a little, but remember, succulents prefer drier conditions during the repotting process.
You might also want to have something to catch any loose soil, such as a large tray or newspaper, to keep your workspace tidy. Being well-prepared enhances the overall experience, allowing you to focus on repotting without worries.
Inspecting the Succulent
Prior to repotting, it’s crucial to carefully assess your succulent's current health. Gently examine the leaves and roots, looking for any signs of decay or disease. If you notice mushy or discolored leaves, you may need to trim them away with your scissors to prevent the spread of rot. Additionally, check the root system; healthy roots should be white and firm. If they appear brown and mushy, you may need to cut away the affected areas before transferring the plant to a new pot.
Once you’ve completed this inspection, lightly shake off the old soil from the roots, freeing them from any trapped dirt. This helps reduce the risk of disease and prepares them for their new environment.
Step-by-Step Repotting Process
The Actual Repotting
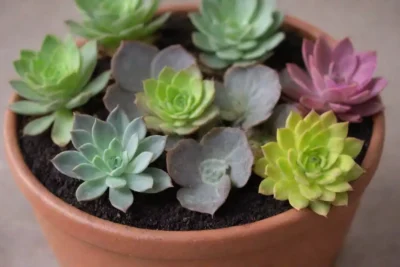
Now that you have everything prepared and your plant inspected, it's time to start repotting! Begin by placing a layer of fresh cactus mix soil at the bottom of the new pot. This foundation will provide essential nutrients and proper drainage for your succulent. Gently set the succulent in the center of the new pot, ensuring the roots are spread out and not overly compressed.
 Repotting Techniques for Trailing Succulents: Tips and Hacks
Next, slowly add more soil around the sides, filling in the gaps while keeping the plant stable in the center. Be careful not to bury it too deep; the top of the succulent should be level with or slightly above the edge of the pot. Once the plant is securely in its new home, lightly pat down the soil to remove air pockets, but avoid compacting it too tightly, as this can restrict airflow to the roots.
Watering Post-Repotting
After repotting, it's important to provide appropriate watering. Contrary to the instincts many have, succulents do not require immediate moisture after repotting. Instead, allow the plant to rest for about a week in a shaded area to help alleviate transplant shock. This break allows the roots time to acclimate to their new environment before exposure to moisture.
After the resting period, you can give your succulent a gentle watering, focusing on the soil rather than the leaves. Ensure excess water drains thoroughly, as stagnant water can lead to undesirable conditions. Continue to monitor the plant for signs of distress, adjusting your care routine as necessary.
Maintaining Your Repotted Succulent
Light and Temperature Requirements
Following the repotting process, it is essential to maintain the right care conditions for your succulent. Most succulents thrive in bright, indirect light, but direct sunlight can scorch their delicate leaves. Observing the plant's reaction to light is crucial; if the leaves start to turn brown or shrivel, you may need to adjust their location.
Temperature control is also vital. Succulents prefer temperatures ranging from 60 to 80°F (15 to 27°C). Ensure your plants are in a location protected from cold drafts, sudden temperature fluctuations, and extreme humidity.
Fertilization After Repotting
While succulents do not require extensive fertilization, giving them a mild fertilizer after repotting can help boost their growth. Consider using a diluted liquid cactus fertilizer during the growing season; this ensures your plant receives the nutrients it needs without overwhelming it. Remember that fertilizing should be done sparingly—over-fertilization can lead to weak growth and compromised health.
Conclusion
In summary, container gardening, especially when working with succulents in small spaces, offers an incredible opportunity for plant enthusiasts to beautify their living environments. Repotting succulents can be a straightforward yet rewarding process if you follow the necessary steps and ensure the optimal care conditions for these hardy plants.
 Incorporating Decorative Elements While Repotting Succulents
From choosing the right containers to understanding their specific needs and maintaining their health after repotting, there’s much to gain from getting to know your succulents deeply. As you watch your plants thrive in their new homes, you'll appreciate the beauty and resilience of these extraordinary flora, enriching your space with their presence.
By engaging in regular care, monitoring their conditions, and nurturing their growth, you create a lively Sanctuary in your home. So gather your tools, plan your repotting day, and step into the rewarding world of succulent gardening that, with patience and practice, will blossomed beautifully in your small space.
If you want to read more articles similar to Container Gardening: Repotting Succulents in a Small Space, you can visit the Repotting Techniques category.

You Must Read